Set the notification email address (Email-2)
To increase the contact ways with our email users, a new function was developed for them to designate their other email addresses, which were used to receive the notification about their NTHU student (or staff) email accounts, for example, login disabled due to some security events.
Setup procedure
- The following example demonstrates how to designate his/her another email address be used for receiving his/her account notification.
1. Log on the service portal of Division of Network Systems
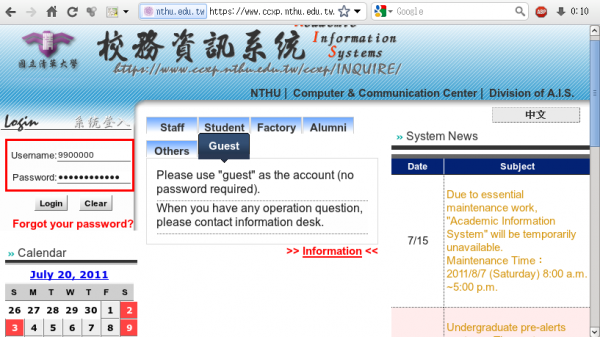
a. Via Academic Information Systems(AIS)
- Enter your AIS password.
 If you forgot your AIS password, please click “Forgot your password?” below “login” on the page of AIS system for help.
- Select “Computer and Communication Center Services” first, and then “Division of Network Systems”.
- Click the URL “Division of Network Systems” on the right frame, and then your browser will be redirected to the service portal of Division of Network Systems


Failed to redirect to the service portal
- If the error message like “cannot get checksum or expired…” appears, it means that the URL is expired due to over the valid period of 2 minutes after its generation. Please click the “Division of Network Systems” on the left menu (or login AIS again) to generate another valid URL.
- If the error message like “IP mismatch…” appears, it means that your IP address connecting to the portal differs from that to the AIS. Please keep your IP address always the same while performing manipulation.
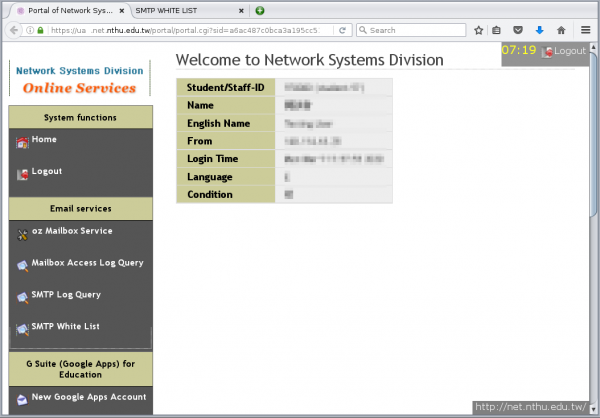
Succeed in redirecting to the service portal
- If like the below window shows, it means that you successfully connect to the service portal of Division of Network Systems (the URL is like https://ua.net.nthu.edu.tw/portal/...)

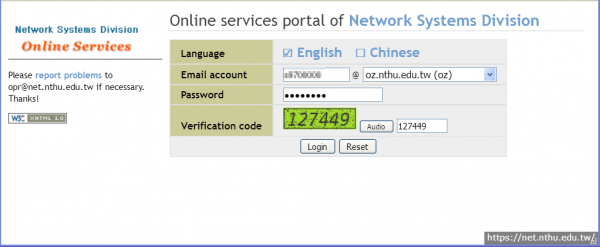
b. Login the portal with your mailbox password
- Enter your “Email account,” “Password,” and the “Verification code,” and then click “Login.”

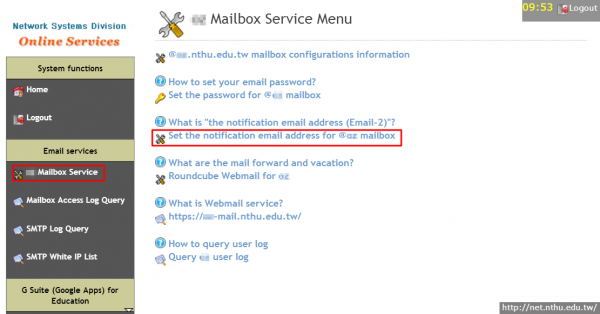
2. Designate email addresses for account notification
- After logging on the service portal of Division of Network Systems, select which “Mailbox service” you want to set, and then select “Set the notification email address for …” .
- Enter one email address on the field of “notification email address”, and then click “Apply.”
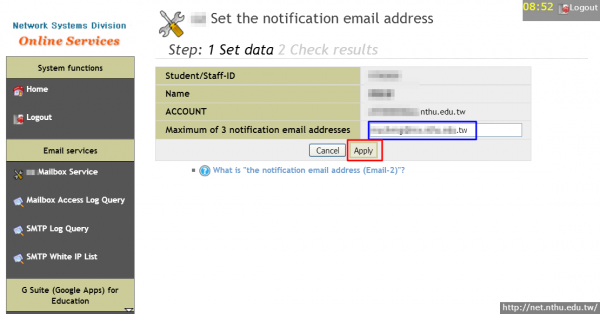
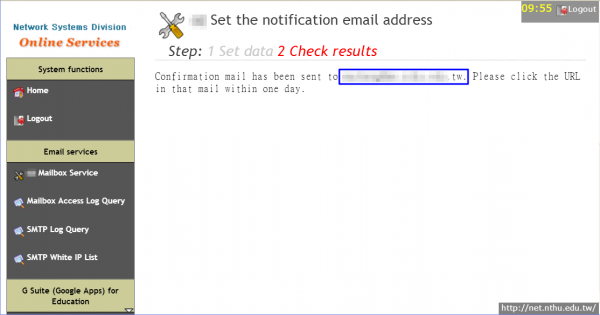
- For verification, a confirmation mail was sent to that email address.
- Notice: The confirmation mail is only valid within one day.


3. Click the URL on the confirmation mail
- The content of the confirmation mail is like below:
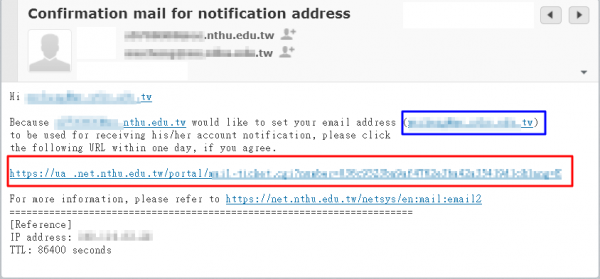
- Click the link on the confirmation mail, and then the figure is shown if successful.Note: The link is only valid within on day.


4. Check the result
- Follow the previous steps to update the final result, as shown like the below figure.
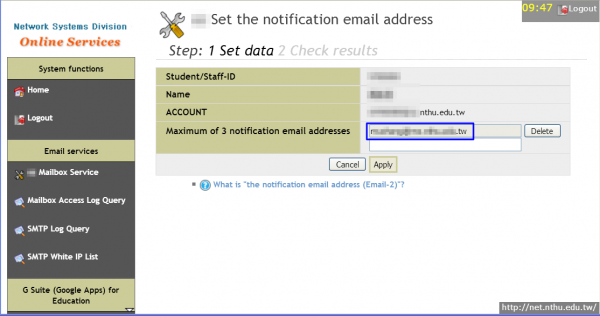
- The maximum number of email addresses is 3.
- To delete any email address has been set, just click “Delete” on its right side.
